The photo album feature of PowerPoint makes it easy to create a presentation displaying photos of an event or topic that can be shared with friends and family, or saved for your own memories.
PowerPoint makes it easy to create a photo album allowing you to change the album layout, theme or picture order at any time.
Create the Photo Album
- Click the Insert tab on the Ribbon
- Click the list arrow for the Photo Album button and then select New Photo Album
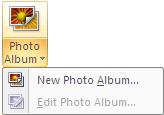
In PowerPoint 2003 you need to click the Insert menu, then Picture and then New Photo Album
- The Photo Album dialogue box appears. To insert pictures to the album, click the File/Disk button and locate and insert the pictures you want to use
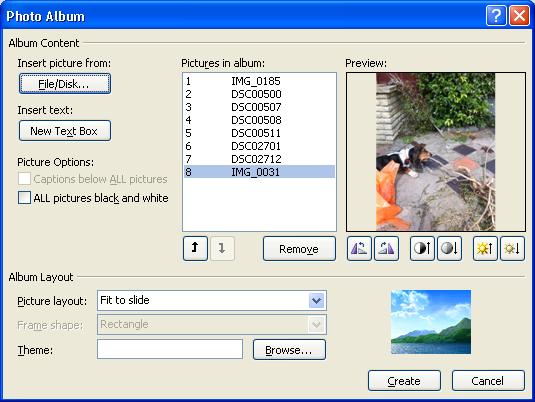
- Use the Up and Down arrow buttons to change the order of the pictures in the album. Click the Remove button to delete any that you no longer want
- Click the Picture Layout list arrow and choose a layout for the pictures of the album. Options include having one, two or four pictures per slide with or without a title. You can also choose the picture to fit to slide.
- Click the Frame Shape list arrow and select a frame for your photos.
- Check the boxes for any additional picture options you may want. You can choose to have a Caption below ALL pictures, and to have ALL pictures black and white.
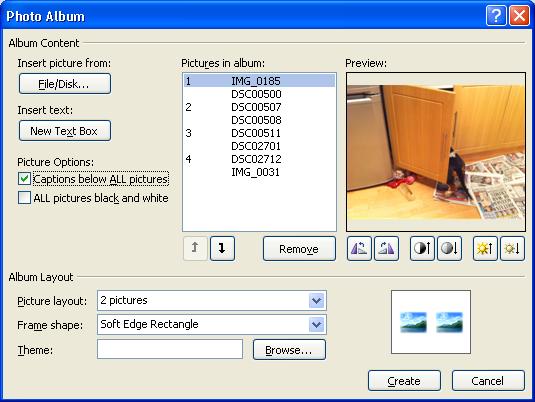
- Choose a Theme for your presentation to create an attractive setting for your pictures
- Click the Create button to create your photo album

Edit the Photo Album
After the photo album is created, it can be edited at any time.
- Click the Insert tab of the Ribbon
- Click the list arrow of the Photo Album button and select Edit Photo Album
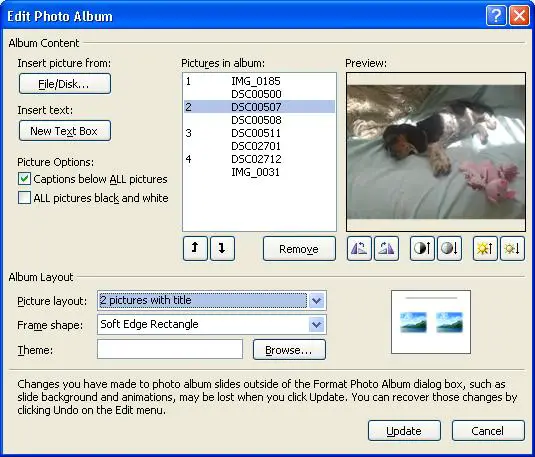
- Make the necessary changes and click Update
It is quick and easy to create a photo album in PowerPoint to store and display photos in an attractive and easy to view presentation.



My 2020 edition of PowerPoint does not have the “photo album” option (icon.)
there must be a workaround. What is it?
Help!!!
The Photo Album button is on the Insert tab. It is still there on my PowerPoint 365.