It is essential to have a fire evacuation plan. As a trainer I am regularly visiting different offices and other locations. On arrival I need to make myself aware of the emergency evacuation procedures and pass this information onto my delegates.
These diagrams should be kept simple so that it provides clarity at a time when people are not thinking clearly. Too many that I see provide cute but unnecessary detail.
You can create a fire evacuation plan in Visio. Visio provides emergency response shapes that can be added to a floor plan. This diagram can then be printed and displayed in the required areas of a building.
Create a Fire Evacuation Plan in Visio
Unfortunately the Floor Plan template and Points of Interest stencil demonstrated in this tutorial are only available from the Visio 2010 Professional version. The floor plan template is not available in the standard version of Visio 2010.
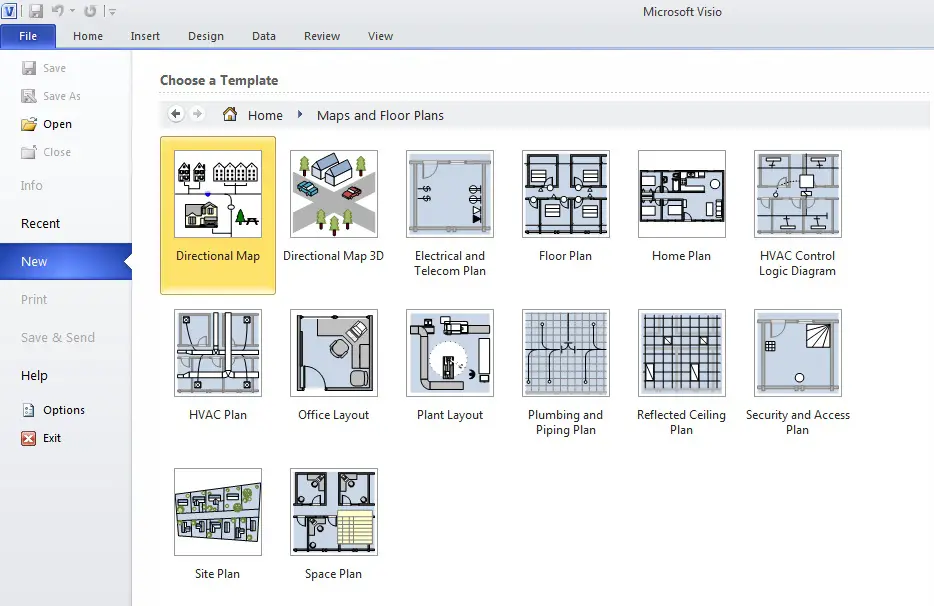
Step 1: Create a Floor Plan
If you already have a floor plan then great, skip to the next step. If not it’s time to create a floor plan. Keep it basic. Do not worry about adding the correct number of desks, or even drawing to scale. This diagram is to focus on knowing the direction of the nearest exit and location of items such as alarms and fire extinguishers.
- Click the File tab on the Ribbon and then select New from the list on the left.
- Click the Maps and Floor Plans category, select the Floor Plan template and click Create.
You now need to create the basic wall structure. This can be done by adding a combination of room shapes, walls and doors.
- From the Walls, Shell and Structure stencil drag a room shape onto the page.
- Resize the room using the provided control handles.
- From the Walls, Shell and Structure stencil drag a Wall shape onto the page.
- Resize and move the wall shapes as required by dragging the endpoints. As you drag a wall onto another they will glue together. The endpoints will turn red to indicate when the walls are glued.
- Continue adding the exterior and interior structure by adding any other necessary shapes such as windows and doors. These shapes when dragged into a wall will glue and cut into the shape.
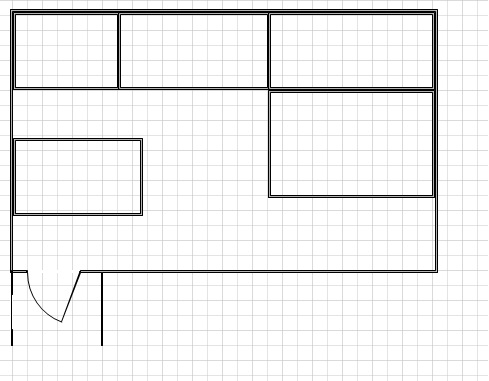
Step 2: Insert Points of Interest Symbols
Points of interest symbols can now be added to the floor plan. These symbols make the diagram easy to understand at a quick glance. The symbols are instantly recognisable and arrows can be used to show the direction of the nearest exit.
- The Points of Interest stencil should be available through the Floor Plan template.
If it is not visible then click More Shapes at the top of the Shapes window, Maps and Floor Plans, Building Plan and select the Points of Interest stencil.
- Drag the required shapes such as fire extinguishers or first aid points to the correct locations on the plan.
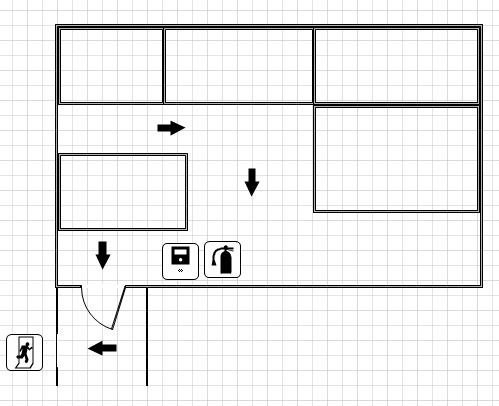
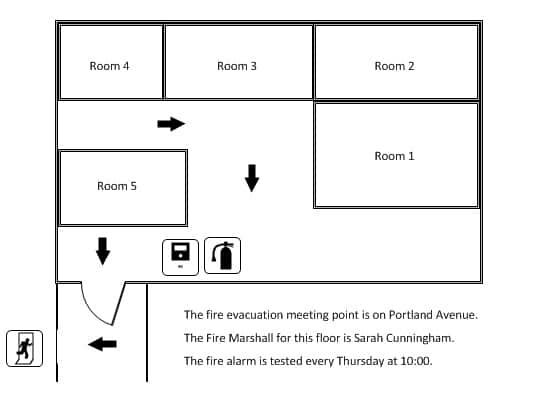
Step 3: Add Some Text to your Diagram
It may be useful to add some text to your fire evacuation plan to inform readers of such things as the meeting point, who the fire safety officer is and when the offices fire drill can be expected.
- Click the Insert tab on the Ribbon.
- Click the Text Box button and click and drag to draw a text box onto the drawing.
- Enter the required text.
- Format the text as necessary. It is a good idea to use a larger font and paragraph spacing to provide clarity when reading.
You can hide the gridlines on the page to make the text more visible on screen. Click the View tab on the Ribbon and uncheck the Grid box in the Show group.


Good Day,
Your website is so helpful, I have managed to develop Evacuation Map for my company. All thanks to you.
Keep up the good work.
Best Regards,
Ngamandla Nona Naki
Good Afternoon,
Thank you for such an informative website, It has taught me alot about Emergency Evacuation. My boss was so impressed when i designed and presented the Fire evacuation to him, which the company never had before. I cannot take all the credit, knowing my great source was this wonderful site.
Thank you