In Microsoft Project you can display different project information next to the task bars in a Gantt Chart. This ensures that you can see the information you need to see about a task without having to keep looking over to the table.
You can display the information in different positions in relation to the bars such as to the left, right, above, below or in the middle. However, Project only allows one piece of information per position.
This can limit the feature somewhat so we will look at how to add multiple fields next to the task bars in a Gantt Chart.
Create a Concatenated Field
To display multiple fields next the task bars we will need to create a concatenated field containing all the information we want to display. In this example, we will look at adding the task name and percentage complete.
- Click the Format tab under Gantt Chart Tools on the Ribbon and click the Custom Fields button.
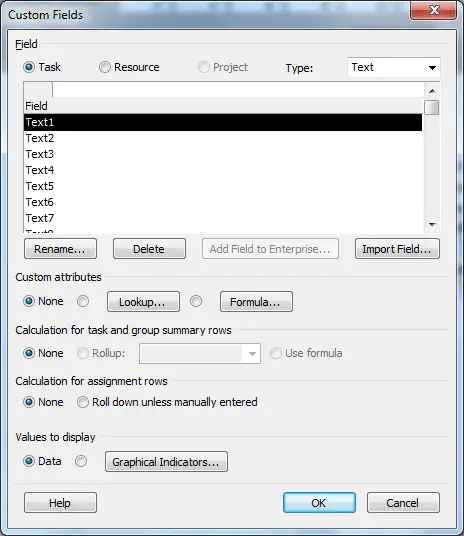
- The Custom Fields dialog box is displayed showing a list of text fields we can use. Click the Formula button below the list.
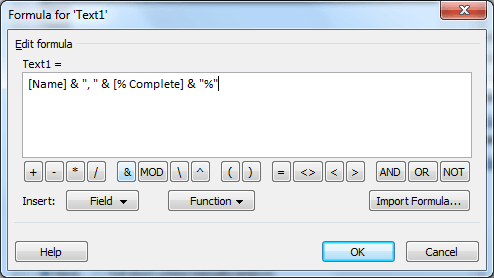
- Click the Field button, select Text and then Name. This field will appear in the formula box above.
- Click the & (ampersand) character, or enter it from the keyboard.
- Now type “, “. This will concatenate the task name and then a comma and space. Click the & button again.
- Now we want the percentage complete field. Click the Field button, select Number and then % Complete.
- Click the & button and then type “%” to display the percentage sign.
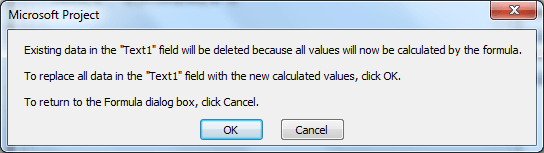
- Click Ok to save the formula, and then click Ok if the message below appears.
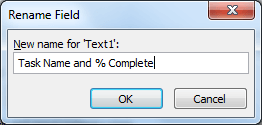
- Click the Rename button and enter a name for the new field like below. Click Ok to save and close all dialogs.
Display the Concatenated Field Next to Task Bars
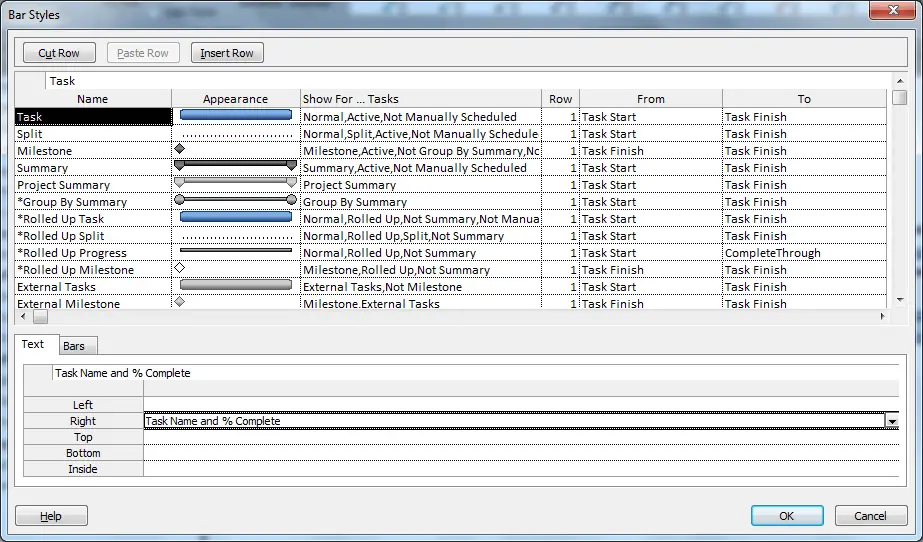
- Click the Format button on the Format tab and select Bar Styles.
- With the Task bar selected in the top half of the dialog box, click the Text tab and click inside the position you want to display the multiple fields.
- A list of project fields is shown. Select the field you just created and click Ok.
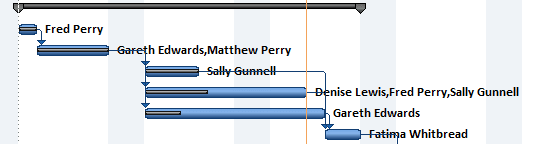
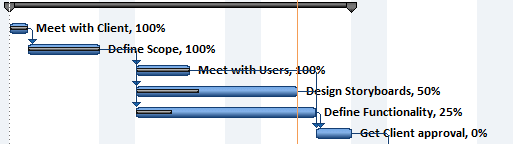
- The task name and percentage complete fields are now shown next to each task bar in the Gantt Chart.


Good information. bravo….
Any reason this method would not work for Summary Tasks? I’ve got normal tasks to show multiple fields, but when I do the same for Summary Tasks, it doesn’t show anything. A single field works fine, but when I create a custom field using a formula with multiple fields, nothing. Thanks!
Very true. This seems to be the case. I was not aware of this. I am sure there is a reason but unfortunately I do not know why that might be.
Thanks for sharing this excellent piece of info.
The only reason it is not showing the text for summary tasks is because you need to select the radio button titled Use formula under ” Calculation for task and group summary rows” .
This is to be done once step 9 is done.
Can’t seem to paste screenshot, however, this radio button can be seen in image under step 1
Faisal, thank you for this tip. I have been searching everywhere to figure out why my summary tasks wouldn’t show a custom field. You saved the day!!
This is an excellent option thanks for the instructions. One question:
I’m using the Finish Date and Name but the date format is long as it adds date and time in the field e.g. 26/04/23 5:00:00 PM, is there a way to format the date to simply 26/04?