If you have used the Caption tool to label tables, figures or images in a document, you can insert a table of figures. A table of figures is commonly found in the appendix and lists the figures labelled in a document.
This can be used to list many items inserted into a Word document such as tables, SmartArt diagrams or even Excel spreadsheets. It can then be used to navigate straight to the page of that table, or Excel spreadsheet in the same way that people use a table of contents to jump to the correct chapter.
Insert a Table of Figures
Before you can use the Table of Figures feature in Word, you need to have labelled the figures by using the Caption tool (Check out how to use Captions in Word).
- Position the insertion point in the document where you want the Table of Figures to appear
- Click the References tab on the Ribbon
- Click the Insert Table of Figures button
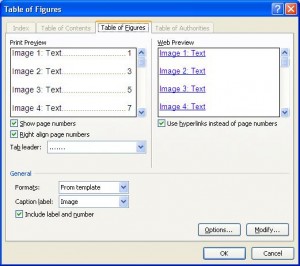
- Select the Caption label: you want to use from the list. In the example below the Image label has been selected to create a table of images
- Change any other settings as required
- Click Ok
Format a Table of Figures
After inserting a table of figures it can be formatted to fit in with the rest of your document. You can choose one of the in-built styles to format your table, or modify it using your own formatting techniques.
Choose a Style
- Click on the Insert Table of Figures button on the References tab
- Click the Formats: button and select a style
- Click Ok
- Click Yes to replace the current table of figures

Modify the Table of Figures Styles
- Click on the Insert Table of Figures button on the References tab
- Click the Modify button
- The Table of Figures style is shown with a preview of its current formatting attributes
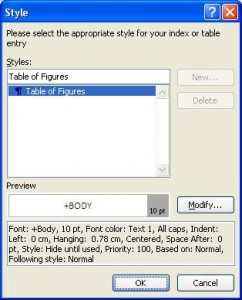
- Click the Modify button
- The Modify Style dialogue box opens. Change the required formatting settings and click Ok to save the style
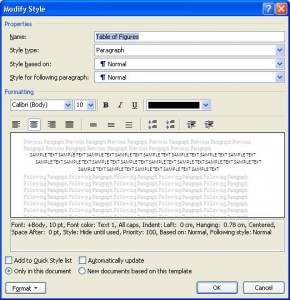
- Click Ok again to close the Style box and then Ok again to close the window and see your changes
Update the Table of Figures
If you make insert more figures or remove any from the document you will need to update the table of figures to keep it up to date.
- Click the References tab on the Ribbon
- Click the Update Table button in the Captions group



Leave a Reply